Freediving Training Zones:
Are You Actually Training What You Think You Are?
Most freedivers know the feeling of finishing a hard session and thinking:
That must have been good training.
You were tired. You had contractions. Maybe you pushed through some difficult reps.
But hard training and effective training aren't always the same thing.
One of the biggest differences between simply doing breath-hold sessions and actually training your freediving fitness is understanding what physiological intensity you're targeting — and why.
This is where training zones come in.
In other endurance sports, training zones are fundamental. Runners, cyclists and swimmers don't simply train “easy” or “hard”. They deliberately work at different intensities because those intensities develop different aspects of performance.
We can apply the same principle to freediving.
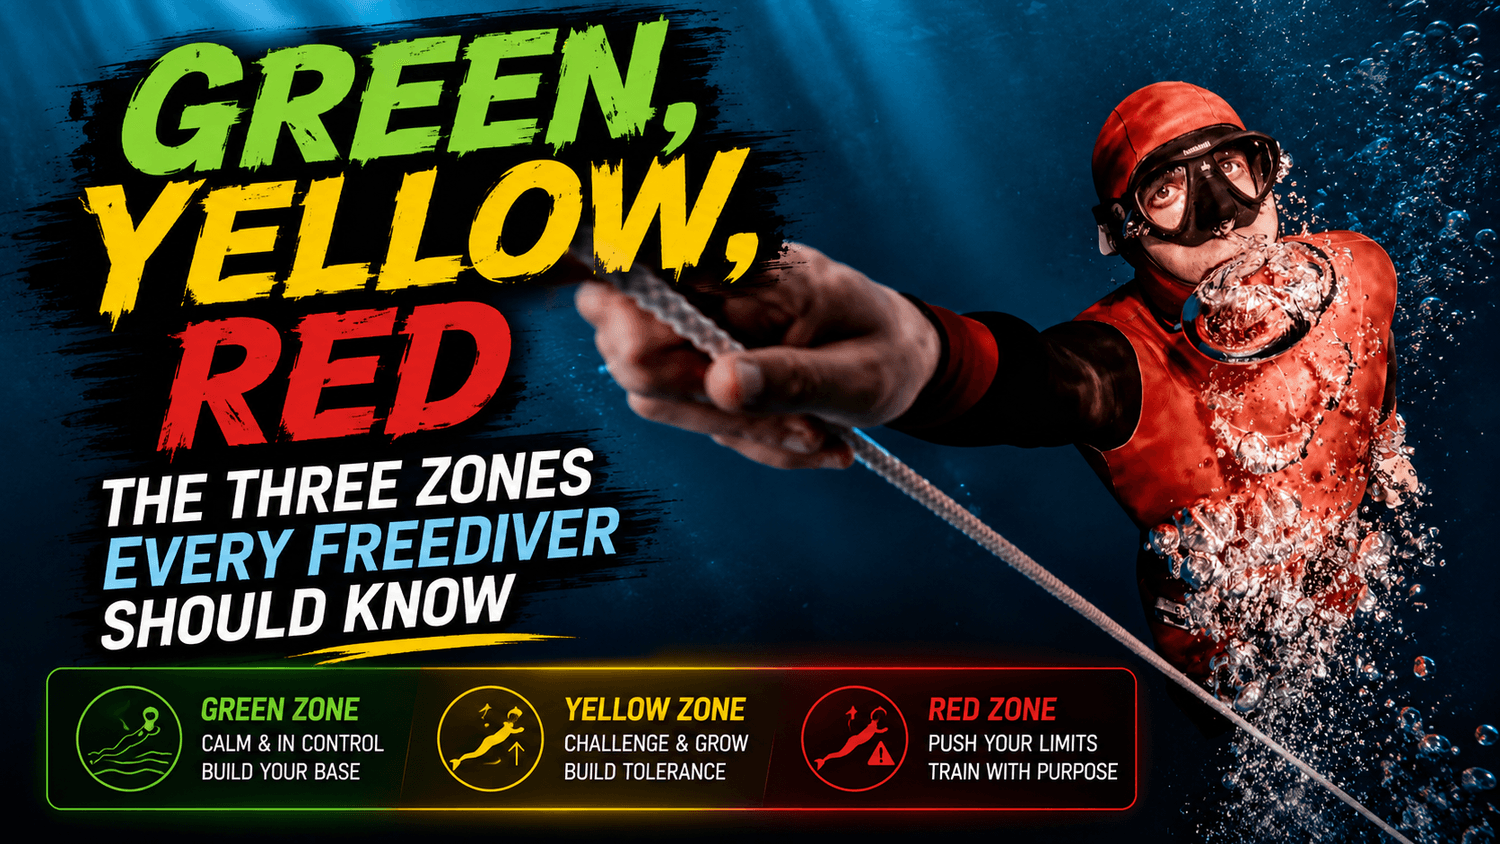
At Train Freediving, we use three simple zones — Green, Yellow and Red — based on the intensity of the dive and your urge to breathe.
Understanding these zones gives you a much clearer picture of what is actually happening during your training.
And, importantly, it also helps explain why two freedivers can complete the same session and experience it completely differently.
Watch: Understanding Freediving Training Zones
In this week's video, we break down the Green, Yellow and Red training zones and show how they can help you understand what you're actually training.
Watch the full Training Zones video on YouTube →
Then keep reading for an overview of how the system works.
The Green Zone: Comfort and Control
Urge to breathe: approximately 1–4/10
The Green Zone is where breath-hold work still feels relatively comfortable.
Your urge to breathe is low. There may be little or no contraction activity, and you generally feel in control of the dive.
It can be tempting to think this is the zone where “nothing is happening”.
But Green Zone training has an important role.
It allows you to accumulate training volume while developing efficiency, technique, relaxation and the ability to stay comfortable as the breath hold progresses.
The important point is that Green isn't simply an easy version of Red.
It creates a different training stimulus.
And depending on the diver, the Green Zone can be surprisingly large — or almost disappear.
The Yellow Zone: Learning to Work With Discomfort
Urge to breathe: approximately 5–8/10
The Yellow Zone begins when the breath hold starts demanding noticeably more from you.
The urge to breathe becomes harder to ignore. Contractions may become established and rhythmic, and maintaining relaxation and efficiency requires more conscious control.
This is where many divers begin to feel that they are really “training”.
Yellow Zone work develops your ability to continue performing as discomfort increases rather than immediately responding to it by stopping, tensing or dramatically increasing effort.
It's an incredibly important part of freediving fitness.
But not every freediver experiences it in the same way.
Some divers can spend a long time here.
Others seem to move from comfortable to extremely uncomfortable almost instantly.
That difference matters — and we'll come back to it when we start exploring the individual Freedive Fitness Archetypes™.
The Red Zone: High Effort and Top-End Capacity
Urge to breathe: approximately 8–10/10
The Red Zone is the highest-intensity part of your training.
The urge to breathe is strong. Contractions and physical discomfort may be significant, and maintaining technique, relaxation and decision-making becomes increasingly challenging.
This is where you're asking your system to perform close to its current limits.
Red Zone training can be valuable for developing top-end capacity and preparing your body and mind for the demands that appear toward the end of harder dives.
But more Red Zone training does not automatically mean better training.
One of the most common traps in freediving is assuming that because a session feels harder, it must create a greater adaptation.
Repeatedly pushing into high-intensity work without understanding why you're doing it can create fatigue without addressing the thing actually limiting your performance.
The Same Session Isn't the Same Training
This is where training zones become particularly interesting.
Imagine two freedivers completing exactly the same set.
Same distance.
Same repetitions.
Same recovery.
On paper, they're doing identical training.
Physiologically, they may be doing completely different sessions.
One diver might spend most of the set in Green.
Another might enter Yellow almost immediately.
Someone else might feel comfortable for a long time and then suddenly shoot towards Red.
This is one of the reasons generic freediving training plans can be so unpredictable.
The numbers on the whiteboard don't tell you the whole story.
Your response to the session matters just as much as the session itself.
Training Zones Help Reveal Your Freediving Strengths and Weaknesses
Once you start looking at your dives through Green, Yellow and Red rather than simply distance or breath-hold time, patterns begin to appear.
You might discover that:
your comfortable Green Zone is very small
discomfort appears unusually early
your Yellow Zone is extremely short
you cope well with discomfort but struggle to recover between repetitions
you remain comfortable for a surprisingly long time but struggle when the intensity finally increases
you spend almost every training session pushing into Red
These patterns give us clues about where your freediving fitness is strong — and where it may be limiting you.
And that's where this connects directly with the Freedive Fitness Archetypes™ we introduced last week.
Your Training Zones Help Shape Your Archetype
If you've already read our introduction to the Pusher, Spiker, Crasher and Balanced archetypes, you'll know that freedivers don't all struggle in the same way.
Their Green, Yellow and Red zones can look very different.
The size of those zones, how quickly a diver moves between them, how they respond to discomfort and how well they recover all help us understand their individual training profile.
That's why understanding training zones comes first.
Over the next few weeks, we'll start looking at each archetype individually—beginning with the Pusher.
And when we do, you'll see why simply telling every freediver to “train harder” or “do more CO₂ tables” misses so much of what actually determines their performance.
Stop Thinking Only in Metres
Distance matters.
PBs matter.
But neither tells you exactly what you're training.
Instead, start asking yourself:
Where was I during that set?
Green?
Yellow?
Red?
How quickly did I move between them?
What changed when recovery time changed?
Where did the session actually become difficult?
Those questions can tell you far more about your freediving fitness than whether you completed another arbitrary set of 50s.
Watch the Training Zones Video
We've broken the whole concept down visually in our latest YouTube video:
Green, Yellow, Red — The Three Training Zones Every Freediver Should Know
Watch now to understand how the zones work, how to recognise them in your own training, and why they matter before we break down the four Freedive Fitness Archetypes™.
→ Watch the Training Zones video on YouTube
Next week: The Pusher — why some freedivers suffer early, push through anyway, and eventually hit a plateau.
Train smarter. Dive further
Get freediving training insights, physiology, practical coaching tips and new ideas delivered straight to your inbox.
No generic freediving advice. Just useful stuff to help you
understand why you dive the way you do — and how to train for what actually holds you back.